Showing posts with label Writing Workshop. Show all posts

Wednesday, August 30, 2017

The Writing Process


It's been a rough first week back to school for me, and I'm glad to get back to blogging about Writer's Workshop!

Hopefully, if you're just getting back into the swing of things in your classrooms, too, you've been able to start implementing some aspects of Writer's Workshop into your schedule.  If not, it's never too late to start!  (click here for my post about what Writer's Workshop is)

So, as I begin my year with my students, it's important that I start them out with understanding what the Writing Process is. When students work through a process, whether it's in writing or reading or math, they work using a concrete model to reach a goal.  In writing, the goal is to have something that is ready for someone else to read.  In 5th grade, I use these steps:

1. Prewriting (brainstorm ideas)
2. Drafting (get your ideas on paper)
3. Revising (change the way you wrote something)
4. Editing (fix things that need fixed)
5. Publishing (ready for the readers' eyes)

When I taught primary grades, I usually combined the revising and editing stages as there is less of a focus on revising.

I wanted a creative way to introduce the writing process to my students that would help them understand what happened in each stage. So, what better way to create, change, fix, and finalize something than playing with play dough!

1. Prewriting

I gave my students a ball of play dough.  I found cheap containers of play dough at my local dollar store. You could also make the dough, but I didn't want to take the time when I knew I could get it for fairly cheap.  I told my students that we were going to have a contest to see who could create the best animal with their play dough.  I gave them time to experiment with ideas first, which represents the PREWRITING stage of the writing process.  They sure got creative!

What should I make? Lions, tigers, bears... so many options!

2. Drafting
Once they had their fun with experimenting with their play dough, they began thinking through what animals they actually wanted to create for our little competition.  They began putting pieces and parts together to see what they could create.  Their initial ideas didn't always turn out like they imagined, which goes perfectly with the DRAFTING stage of the writing process.

It's a start!

3. As they began to make changes to their animals, I emphasized that this represented the REVISING stage; the stage where they might move things around (just like they might move an arm or leg on their animal to balance it out a little better). They also might take something off their animal and change the way the piece looked, similar to using different words to state their ideas better.

This doesn't look like I thought it would!

4. As their animals were coming along, they began to see the need to fix things, such as a leg that was too thick, or an body that wasn't proportional to the head. In the picture below, a student realized that the animal head was actually too heavy as it fell off the animal!  We talked about how this models our need for EDITING when we need to fix things in our writing that aren't correct (spelling, punctuation, grammar/mechanics issues).

Oh, no! The head won't stay on!

5. Finally, it was time to get it ready for the judges. There was a fine line up of play dough animals, from dinosaurs and snakes to dolphins and cats.  But the judges could only choose 1.  This showed us how important it is to make sure our writing is ready for the reader. If our work doesn't get our thoughts and ideas across well, then it's not as effective as it could be.

So, the winner was...

The Dolphin!

This activity helped my students understand the stages of the writing process.  As students began writing their various stories, letters, poems and reports, they were able to track their own progress through the process.  That way, they can stick to a plan for their writing, making the goal of publishing a tangible one for them!

I'd love to hear how you introduce your students to the writing process!  I know there are tons of creative ideas out there!

Thanks for reading!
Martha

Wednesday, August 2, 2017

Setting the Stage for Writer's Workshop


Welcome to "The Owl Spot" as we set the stage for writer's workshop.  This is my 2nd installment of my Writer's Workshop Wednesday posts, and it's one of my favorites!  

As teachers, we (usually) enjoy decorating and organizing our rooms for a new school year.  Sometimes it gets overwhelming with all of the photos circulating on Pinterest and Facebook.  I like to make a checklist, though, to help me stay focused (grab the checklist at the end of this post for free!).

One area on my checklist is to set up my content related areas, one of them being my Writing Center.  In this center, I have an interactive bulletin board for students to track their writing process and a shelf with writing tools for my students to use (different kinds of paper, checklists, dictionaries, editing pens, etc.).


For today, I wanted to focus on the Interactive Writing Process Board (or display). 

One set of mini lessons I teach after I go over procedures for Writer's Workshop is what the Writing Process is.  It's important that students know what happens in each stage, as well as where they are in the process as they are writing.  

Creating an interactive board doesn't have to be as hard as it sounds.  You just need a way for students to visually track their own process.  It also makes it easy for you to catch a "status of the class" just by looking at your board/display.  

You want to make sure you have these items on your board/display:

* Stages of the writing process
* Short explanation of what happens in each stage - this can be either on the board/display or somewhere nearby.
* Movable pieces with student names on them.  These should attach to the different writing process stages. There's so many different ways you can do this!

1. Clip chart - students move their clothespins to the stage they are currently working on with their writing. Super easy!
2. Magnets - keep your writing process stages on a magnetic surface. Use dollar store/die cuts, etc. with student names on them for your movable pieces.  Just add a magnet to the back!
3. If using a true bulletin board, you can use any movable pieces. Students attach them to the stage with push pins!

Here's some picture ideas...


These are the pieces to a writing process board. 


The posters explain each stage, while the students use the clip chart to show where they are in the process. Super easy to set up, even if you don't have much board/wall space.


Here's one that I used a magnetic surface:


Since my theme was Sea Turtles that year, my students had magnetic name pieces (sea turtle eggs) that traveled to each of the stages of the writing process. This year I had to display my explanation posters in a different area.

Here's another one...


This one goes with my current Alice in Wonderland theme. Students have their writing process posters above the "Tea Party."  On the first day of school, students design their own teacups to use as their movable piece. Because this is on the wall, they use sticky tack to move their pieces on the corresponding teacup.

I've seen so many creative ways to do this! One teacher used a dog theme, and printed out dog bowls, one for each stage. Students had bones with their names on them to move to the different bowl.  Another favorite was a race track. The Writing Process stages were around the track, and students moved their race cars around!

Have fun making your classroom setup meaningful to what you are going to teach your students! 

I'd love to hear how you display your writing process so your students can track their writing!


Thanks for reading!
Martha from "The Owl Spot"


Wednesday, July 26, 2017

Writer's Workshop Wednesdays


I love teaching writing!

I don't hear many teachers saying this, so I know I'm in the minority here.  I think I like teaching writing because I love to write.  It's something that I've loved doing since I was in third grade.  I remember writing a story about an elephant running away from the circus, and thinking that I wanted to write books when I grew up.

So here I am, teaching 5th graders how to write.

How?  Through Writer's Workshop.

After going through some pretty intense training for Writer's Workshop when I taught at Tigerville Elementary School in SC, and then being a part of the Upstate Writing Project with Clemson, I'm a firm believer that Writer's Workshop works. It's not just another program that was thrown at me to figure out and implement immediately; it's a well-researched way to build a community of lifelong writers in your classroom.


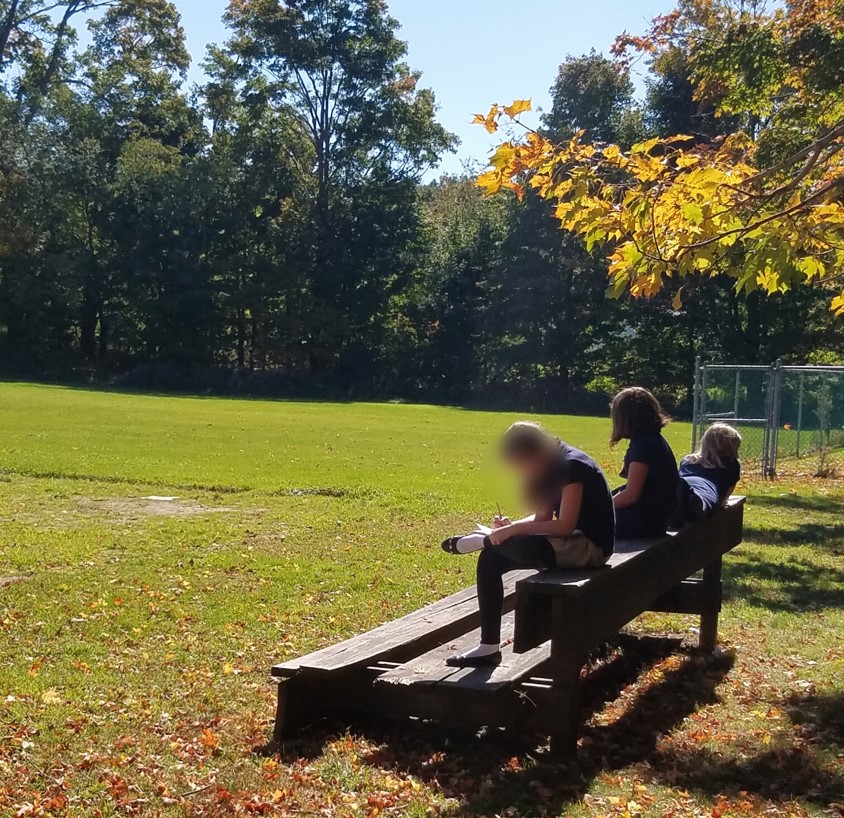
Enjoying writing outdoors

So, what is Writer's Workshop?

1. A time when students pretty much get to make choices about what they write.

2. Mini lessons

3. Time to write

4. Talking about our writing

5. Teachers modeling writing

6. Using Mentor Texts as examples

7. Sharing and celebrating the authors in all of us


It's my favorite time of the day (my students say the same thing)!  And once you understand how it all works, I know you'll love it, too.

Check back with me every Wednesday for Writer's Workshop Wednesday. I plan on posting helpful tips and hints for being successful with this in your class. I promise each Writer's Workshop Wednesday post will have you excited to try something new with your students!

I'm giving away a couple customized Writing Process Clip Charts - leave a comment below about writing in your classroom (a moment of success or an area of frustration is fine).  Make sure to leave your email address, too, so I can contact you!  I'll choose the winners by Saturday, July 29. 

Martha from "The Owl Spot"